Turmeric Oil: Golden Elixir for Your Holistic Wellness Journey
Turmeric has already earned its place in many kitchens, but when infused into oil, this golden root becomes an even more versatile wellness ally. Turmeric oil—whether made from fresh root or powder—concentrates the plant’s anti-inflammatory, antioxidant, and skin-loving properties into a form that’s easy to use in massage, topical care, and even certain culinary applications.
If you’re ready to deepen your relationship with turmeric, here’s how to make this nourishing oil at home and five beautiful ways to incorporate it into your holistic lifestyle.
How to Make Turmeric Oil
You’ll Need:
- ½ cup carrier oil (olive, coconut, jojoba, or sweet almond work well)
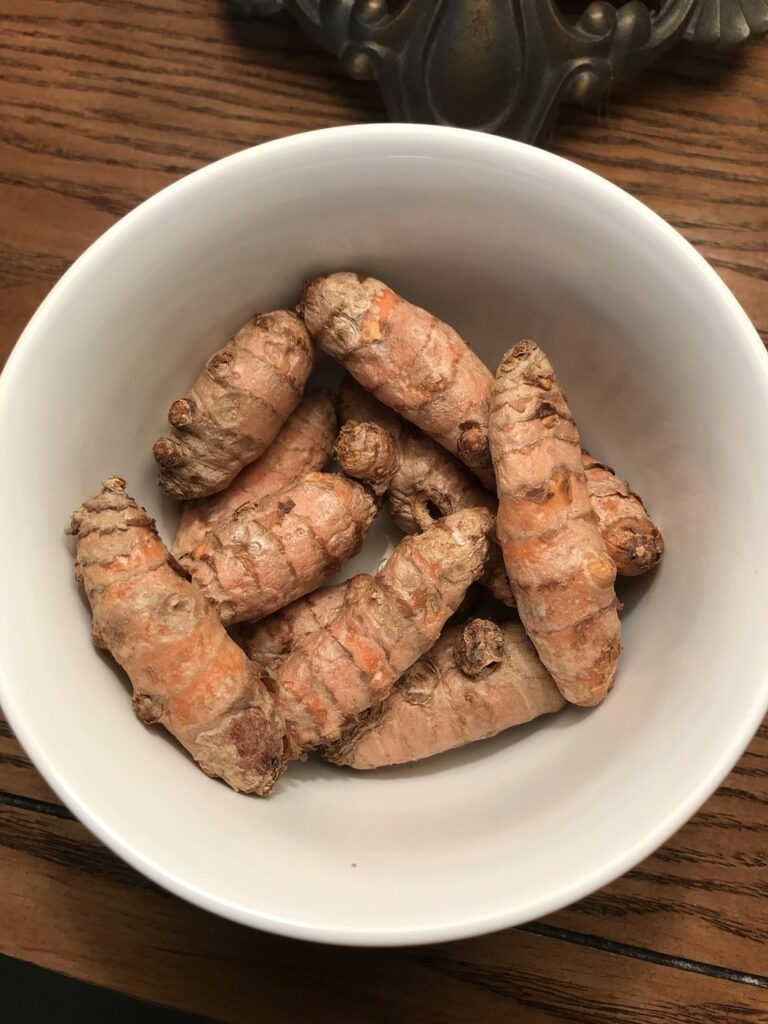
- 2–3 tablespoons fresh grated turmeric root or 1 tablespoon turmeric powder
- A small saucepan or heat-safe glass jar
- Fine mesh strainer or cheesecloth
- Dark glass bottle for storage
Instructions:
- Prepare your turmeric. If using fresh root, wash, peel, and grate it. If using powder, simply measure it out.
- Combine turmeric and oil. Place both into your saucepan or jar.
- Gently heat. Warm the mixture on the lowest heat setting for 20–30 minutes. Avoid boiling—low, gentle heat preserves the oil’s beneficial compounds.
- Cool and strain. Let the oil cool completely, then strain through cheesecloth to remove plant material.
- Store. Pour into a dark glass bottle and keep in a cool, dry place. Fresh turmeric oil lasts about 3–4 months; powdered turmeric oil may last 6 months.
Tip: For a sun-infused method, combine turmeric and oil in a sealed jar and let it sit on a sunny windowsill for 2–3 weeks, shaking gently every day.
5 Ways to Use Turmeric Oil for Holistic Wellness
1. Soothing Massage Oil
Blend turmeric oil with a few drops of lavender or ginger essential oil for a warming massage blend. Use it on tired muscles, stiff joints, or as a grounding self-care ritual after a long day.
2. Glow-Boosting Facial Oil
Dilute a few drops of turmeric oil into your favorite facial oil or serum. Turmeric’s antioxidants help brighten skin, even tone, and reduce the appearance of redness. (Always patch test first—turmeric can temporarily tint skin.)
3. Scalp and Hair Nourishment
Massage turmeric oil into your scalp before shampooing to encourage circulation and support scalp health. This can be especially lovely during seasonal transitions when hair may feel dry or stressed.
4. DIY Healing Balm Base
Incorporate turmeric oil into a homemade salve with beeswax and shea butter. This creates a rich, multipurpose balm for dry elbows, heels, or minor skin irritations.
5. Warming Oil for Seasonal Wellness
Rub turmeric oil into the chest, back, and feet during cooler months to encourage warmth and circulation. Pair with a cozy blanket and herbal tea for a soothing winter ritual.
A Few Helpful Notes for Beginners
- Turmeric can stain fabrics, towels, and even light-colored skin temporarily—use it mindfully.
- Always do a patch test before topical use to check for sensitivity.
- This oil is for external use only unless using a food-grade oil with culinary turmeric and following safe cooking guidelines.
A Golden Addition to Your Wellness Routine
Turmeric oil is a small but mighty way to keep this ancient plant in your daily rhythm. Whether you’re massaging it into sore muscles, adding it to your skincare, or crafting your own herbal remedies, it’s a gentle reminder of the warmth, resilience, and vitality nature offers us.
Your holistic wellness journey doesn’t need to be complicated—sometimes, it’s as simple as a jar of golden oil waiting on your shelf.